
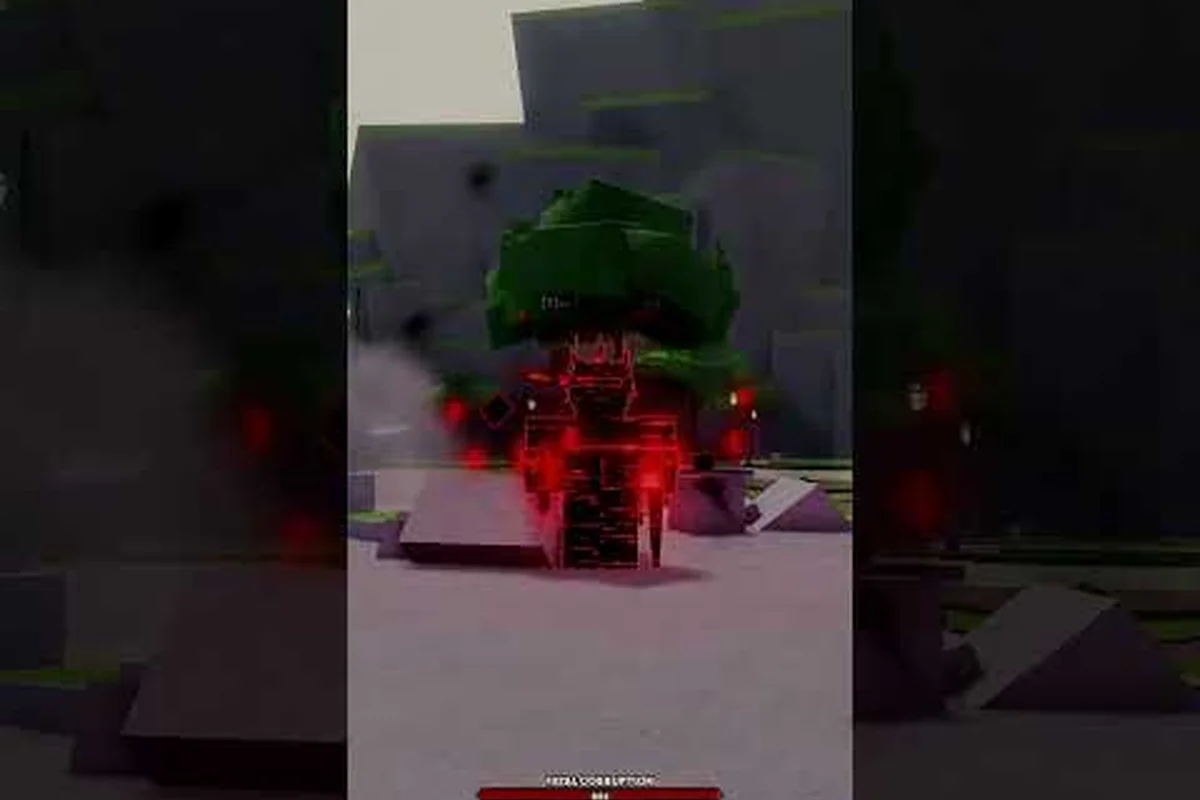
A Legends Battlegrounds combo to death is the fastest way to end a duel before your opponent ever touches the ground, and this guide breaks down the light-to-heavy chains that make it happen. You will learn the exact inputs, cancel windows, and finishers that turn a single opening into a full health bar deletion.
Why Death Combos Decide Most Duels
In Legends Battlegrounds, a duel is rarely won by whoever lands more hits — it is won by whoever converts the first clean opening into a full combo to death. Because the game runs on a moveset-driven PvP system with M1 light strings, Q dashes, F blocks, and G awakening, the player who understands chain timing will beat the player who only understands individual moves. Reported by players, most ranked losses below the top tier come from dropping a combo halfway rather than from losing neutral.
The core idea is simple: every move in your kit has a hitstun window, and as long as your next input lands inside that window, the opponent cannot act. Chain enough windows together and the health bar hits zero before they get a single defensive option. That is the entire foundation of a one shot combo.
Here is what separates a dropped string from a true death combo: a dropped string ends the moment your next input misses the hitstun window and the opponent regains control, while a true death combo keeps every link inside that window until the health bar empties. In practice, the gap between the two is often a single frame — a light attack (M1) that recovers one beat too late lets the victim Q dash or F block out, whereas the same M1 chained into a jump cancel into an uppercut launcher holds them long enough to route into an awakening finisher. That is why the same starter can produce a two-hit poke in one player's hands and a full one shot combo in another's.
-
Hitstun awareness — you must know how long each move locks the opponent before recovery ends.
-
Cancel timing — jump cancels and dash cancels let you skip recovery frames that would otherwise end the string.
-
Starter quality — an uppercut or a counter-hit starter gives far more follow-up time than a raw jab.
-
Resource management — awakening meter and dash stamina gate how long your extension can realistically run.
-
Positioning — wall and corner setups remove the knockback that normally saves a victim mid-combo.
The table below breaks down how each core move class functions as a link in a legends battlegrounds combo to death, using community-tested hitstun and cancel data from the current build. Read it as a routing map rather than a tier list: Light attack (M1) carries the shortest hitstun window, so it works as a starter or filler only when immediately chained through a jump or dash cancel; Heavy attack buys a medium window that makes it the natural damage bridge between an opener and an air extension; Uppercut launchers hold the longest hitstun, which is why they anchor most one shot combo routes and feed directly into jump attack follow-ups; Jump attack extends the string in the air and can be dash-cancelled to reset spacing; and the Awakening finisher has no cancel window because it is designed to close the route and kill.
| Move Type | Input | Combo Role | Hitstun Length | Cancel Options |
|---|---|---|---|---|
| Light attack (M1) | Click | Starter / filler | Short | Jump, dash |
| Heavy attack | Hold / heavy input | Damage bridge | Medium | Jump cancel |
| Uppercut | Launcher input | Combo starter | Long | Air follow-up |
| Jump attack | Jump + M1 | Air extender | Medium | Dash cancel |
| Awakening finisher | G + move | Ender | N/A | None (kills) |
Understanding this chart is the difference between a two-hit poke and a genuine infinite combo loop. If you want a broader foundation before pushing into death routes, the best combos breakdown covers the beginner-to-intermediate strings that feed into everything below.
Building the Light Attack Combo Foundation
Every advanced route in the game is built on top of a clean light attack combo, because M1 strings are the most reliable way to confirm that your first hit actually connected. A light attack combo that ends in a heavy is the bread-and-butter confirm, and it is where new players should spend their first few hours in the training lobby. According to community reports, players who drill the three-hit light confirm land roughly twice as many full strings as those who jump straight into flashy routes.
Reading the M1 String
The standard light string is three hits, and each hit has a slightly different recovery. The first hit is your confirm, the second is your bridge, and the third is where you decide whether to extend or reset. The key insight is that the third light hit has the longest recovery, which makes it the natural place to insert a cancel rather than letting the string end naturally.
When to Convert to Heavy
Converting a light attack combo into a heavy is the moment your damage stops being chip damage and starts being lethal. The heavy input has a longer startup, so you must buffer it during the tail of your second light hit rather than waiting for the third to finish. If you buffer too late, the opponent recovers and blocks — a mistake that costs you the entire route.
Practice this conversion until it is muscle memory: set a 10-minute training-room block, pick one M1 x2 into heavy route, and repeat the buffer 30 times in a row, watching for the heavy connect flash on each rep. The reason this drill beats raw match grinding is that the heavy buffer window sits inside the second light's recovery frames, so your hands must learn the timing independent of hit-confirm noise. Once you can land the bridge 9 out of 10 attempts without looking at the damage numbers, the conversion is ready for live matches.
-
Land the first light hit to confirm the opening.
-
Buffer the second light immediately, do not pause.
-
Input the heavy during the second hit's tail, not after the third.
-
Watch for the heavy connect flash to confirm the bridge landed.
| Light Chain | Follow-Up | Damage Tier | Difficulty |
|---|---|---|---|
| M1 x2 into heavy | Ground bounce | Medium | Easy |
| M1 x3 into uppercut | Air launch | High | Medium |
| M1 x2 into jump cancel | Air juggle | High | Medium |
| M1 x1 into dash reset | Loop restart | Variable | Hard |
The dash reset row is where things get interesting, because a well-timed dash cancel effectively restarts your string while the opponent is still in hitstun. That is the seed of an infinite combo, and we will expand on it in the section below.
Chaining Heavy Combo Damage Into Launchers
A heavy combo in Legends Battlegrounds is not just a single big swing — it is a bridge that carries the opponent from a grounded state into the air, where your damage options multiply. The heavy-to-uppercut transition is the single most important link in any death route, because the uppercut launcher is what removes the opponent's ability to tech away. Players who master this one transition unlock most of the advanced routes in the game.
The Heavy Into Uppercut Window
The heavy attack leaves the opponent in a medium hitstun state that lasts just long enough to land an uppercut if you input it immediately. There is no room for hesitation here; the moment your heavy connects, your uppercut input should already be queued. Community testing suggests the window is tight enough that players on high ping should practice this specific link more than any other.
Ground Bounce vs Air Launch
Not every heavy needs to launch. A ground bounce keeps the opponent low and lets you continue grounded pressure, while an air launch opens juggle routes. Choosing the wrong one mid-string is a common way to drop a combo, so decide before you start the route.
| Heavy Route | Opponent State | Best Follow-Up | Risk |
|---|---|---|---|
| Heavy into ground bounce | Grounded | Light re-string | Low |
| Heavy into uppercut | Airborne | Jump combo | Medium |
| Heavy into dash cancel | Grounded | Loop reset | High |
| Heavy into awakening | Any | Finisher | Low (meter cost) |
The uppercut combo deserves its own focus because it is the launcher that makes air routes possible. Once the opponent is airborne, your jump combo options open up, and that is where a one shot combo starts to look genuinely unavoidable.
Jump Combo and Uppercut Combo Air Routes
Air routes are where Legends Battlegrounds combos stop being fair. When you launch with an uppercut and follow with a jump combo, the opponent has very few defensive options because most characters lack a reliable air escape. This is the section where a solid route becomes an actual combo to death, and it is also where most players plateau.
Timing the Jump Cancel
The jump cancel is the engine of every air route. After a launcher, you jump and immediately input a light or heavy, using the jump to skip the recovery that would otherwise drop the opponent. The jump cancel window is generous compared to the heavy-to-uppercut link, which makes air routes more forgiving than they look — the hard part is the entry, not the juggle.
Air Juggling Without Dropping
Air juggling depends on keeping the opponent at a consistent height. If you hit too high, they drift out of range; if you hit too low, they fall to the ground and recover. The trick is to alternate light and heavy air hits so the knockback stays neutral, then finish with an uppercut re-launch if your character has one.
A reliable air sequence looks like this: open with an uppercut to launch, then jump cancel into a light air hit to keep the opponent at juggle height, follow with one heavy air hit for damage without excess knockback, dash cancel to stay underneath them, and close with a re-launch or finisher once your meter allows. This route mirrors the table below, where the uppercut into jump loop needs only low meter yet carries high kill potential, making it the backbone of most legends battlegrounds combo to death attempts.
-
Uppercut launch to start the route.
-
Jump cancel into a light air hit to stabilize height.
-
Heavy air hit to add damage without excessive knockback.
-
Dash cancel to reposition under the falling opponent.
-
Re-launch or finisher depending on remaining meter.
| Air Route | Hits | Meter Needed | Kill Potential |
|---|---|---|---|
| Uppercut into 2 air lights | 3 | None | Low |
| Uppercut into air heavy finisher | 4 | None | Medium |
| Uppercut into jump loop | 5+ | Low | High |
| Uppercut into awakening ender | 6+ | Full | Guaranteed |
Players chasing a true infinite combo should note that air loops are the most common place the loop is actually enforced, because the opponent cannot reach the ground to reset neutral. For character-specific air tech, the wall and air combo guide breaks down how corners change your juggle options.
One Shot Combo and Infinite Combo Loops
The one shot combo is the endgame of combo theory: a route that takes a full health bar from 100 to zero without giving the opponent a single actionable frame. The infinite combo is its cousin — a loop that can theoretically repeat forever, limited only by your execution and the game's internal combo scaling. Both rely on the same principle, which is chaining cancel windows so tightly that recovery never happens.
How Combo Scaling Limits You
Most fighting games apply damage scaling as a combo grows, and Legends Battlegrounds is no exception. Community data suggests that longer strings deal progressively less damage per hit, which means a 20-hit infinite combo may deal less total damage than a tight 8-hit death route. This is why top players favor short, high-damage routes over flashy long loops in ranked play.
Confirming the Kill
The final step of any one shot combo is confirming that the last hit will actually kill. If your finisher leaves the opponent at 5 percent health, you have handed them a free reversal. Check your meter, check the opponent's health, and only commit to the finisher when the math works.
| Route Length | Typical Damage | Scaling Penalty | Practical Use |
|---|---|---|---|
| 5 hits | 60-70% | Minimal | Ranked staple |
| 8 hits | 80-95% | Moderate | Death route |
| 12 hits | 90-100% | Heavy | Style / clips |
| 15+ hits | Variable | Severe | Infinite demo |
The showcase video from the community, All Characters Full Showcase & combo to death clips, is a useful reference for seeing how different movesets convert the same core principles into character-specific routes. Watching how each character's launcher behaves will save you hours of trial and error in the training lobby.
Matchup Adjustments and Practice Routine
No combo to death works identically against every opponent, because character weight, fall speed, and defensive tools all change your timing. Adjusting your route on the fly is what separates a training-lobby specialist from a ranked threat. According to community reports, the biggest gap between intermediate and advanced players is not combo knowledge but matchup adaptation.
Adjusting for Heavy and Light Characters
Heavy characters fall faster, which shortens your air juggle window and forces you to end routes earlier. Light characters float longer, giving you extra hits but also more drift, which can push them out of your reach. The fix is to shorten or lengthen your air segment by one hit depending on the opponent.
A Simple Daily Drill
A consistent practice routine beats sporadic grinding. Spend ten minutes on the light-to-heavy confirm, ten on the heavy-to-uppercut link, and ten on a full death route against a moving dummy. Rotate characters weekly so your muscle memory does not lock to a single moveset.
| Practice Block | Duration | Goal | Success Metric |
|---|---|---|---|
| Light confirm | 10 min | Consistent opener | 9/10 land |
| Heavy to uppercut | 10 min | Launcher link | 8/10 land |
| Full death route | 10 min | End-to-end kill | 5/10 kill |
| Matchup rotation | 10 min | Adaptation | No dropped routes |
If you want to push beyond the fundamentals covered here, the advanced combos guide covers pro-level extensions, teamer counters, and zero-to-death routes that build directly on the chains covered here. For official character and moveset details, the Legends Battlegrounds game page remains the authoritative reference for what each kit can actually do.
Frequently Asked Questions
What is the easiest combo to death for new players?
The simplest reliable route is a two-hit light confirm into a heavy, then an uppercut launcher followed by two air lights. It requires no meter and lands consistently once you buffer the heavy during the second light hit, making it the best starting point before you attempt longer loops.
Do infinite combos still work in the current build?
Short air loops still function, but damage scaling makes long infinite combos inefficient compared to tight death routes. Community testing suggests most players get better results from an 8-hit kill route than from a 15-hit loop, since the scaling penalty reduces the payoff of every extra hit.
Which starter gives the most follow-up time?
An uppercut starter gives the longest hitstun window, which is why it anchors nearly every advanced route. Counter-hits also extend your window significantly. A raw jab starter is the weakest option because its hitstun is short and the opponent can often block the follow-up.
How do I stop dropping my heavy combo mid-string?
Buffer your next input before the current move finishes rather than reacting to the hit. The heavy-to-uppercut link in particular must be queued the instant your heavy connects. Practicing this single transition for ten minutes a day fixes most dropped heavy combo issues.
Does ping affect death combo execution?
Yes, and it matters most on tight links like heavy into uppercut. Players on high ping should favor routes with wider cancel windows, such as jump-cancel air loops, and avoid relying on frame-perfect ground links that will fail under latency.
Mastering a Legends Battlegrounds combo to death comes down to three habits: confirming your opener with a clean light attack combo, bridging into a heavy combo that launches, and finishing in the air where the opponent cannot escape. Drill the light-to-heavy and heavy-to-uppercut links until they are automatic, adapt your route length to each matchup, and respect combo scaling by favoring short lethal routes over long flashy ones.